NZ Passport Photo: Requirements, Size and How to Get Yours Accepted
A passport application can stall on something as small as a shadow behind your head. The New Zealand Passports service, run by the Department of Internal Affairs (DIA), applies strict rules to passport photos, and it publishes those rules in detail. You can pay a professional service, or take the photo yourself at home, as long as the result meets the standard.
This guide sets out the current requirements from the official Passports service guidance: size and framing, background, glasses and head coverings, file specifications for online applications, and the mistakes that lead to rejection. Our Visa & Immigration guides cover the wider application process.
Quick answer: the rules at a glance
Your NZ passport photo must:
- be a colour portrait photo, taken within the last 6 months
- be taken by someone else (selfies are not accepted)
- show your head centred, with part of your shoulders and upper chest visible
- have a plain, light coloured background that is not white, with strong contrast against your face and no shadows
- show your face straight on, eyes open, mouth closed, with a neutral expression
- be free of filters and digital alteration
- for online applications, be a .jpg or .jpeg file between 250KB and 5MB, measuring 900 to 4500 pixels wide and 1200 to 6000 pixels high
- for paper applications, be printed at 35mm × 45mm, with two identical copies supplied
Size and framing
For an online application, the photo is a digital file with a portrait orientation. DIA describes the aspect ratio as 4:3, or 3:4 on a smartphone, and the file must fall between 900 and 4500 pixels wide and 1200 and 6000 pixels high.
For a paper application, the printed photo is the standard passport size of 35mm wide by 45mm high. The application form guidance adds framing rules for print: your head, including your hair, must be no more than 80% of the image height, and your head must be centred with a clear gap around the sides and the top of your head.
Whichever format you use, the framing works the same way. Your head sits in the centre of the frame, part of your shoulders and upper chest show at the bottom, and there is clear space around the top and sides of your head. DIA says the camera should be about 1.5 metres away from you, held at your eye level. Closer than that, your nose and forehead can look larger and your ears less visible.
Background: plain, light, but not white
The background catches people out because the rule is more specific than most expect. It must be plain and light, but not white, with strong contrast between you and the background, and no shadows on it. Light blues, greys and creams all work well, according to DIA.
Three practical points follow from that:
- Stand at least half a metre away from the background. Standing hard against a wall invites shadows behind your head.
- Nothing else should appear behind you. No other people, no furniture, no picture frames, no door edges.
- Check for shadows. A shadow cast on the wall behind your head is one of the top reasons DIA gives for rejecting photos.
Lighting and photo quality
Lighting should be even across your face. Shadows on the face, or a face lit brightly on one side and dark on the other, can both fail. DIA’s form guidance adds that the photo must be in focus, with no red-eye and no reflected light on the face.
The photo also has to be a true image of you. Do not apply a filter, and do not change your appearance with photo editing software. Cropping to the right proportions is a different matter, and DIA suggests keeping a copy of the original file and saving any edited version under a new name.
If you are printing photos for a paper application, use high quality, high resolution photo paper. Do not staple or paperclip photos to the application, because that damages them and can make them unusable.
Your face: expression, eyes and hair
The pose requirements are precise:
- Face the camera straight on, with your head straight and not tilted or turned to one side.
- Keep your eyes open and clearly visible.
- Keep your mouth closed and your expression neutral. No smiling, no frowning.
- Make sure your whole face is in view.
- Keep hair out of your eyes and away from the sides of your face. Hair falling across the eyes can obscure the features the photo is meant to record.
Glasses
You can wear prescription glasses in your passport photo, with conditions. The glasses must not be tinted, and they must not have thick frames. Sunglasses are never allowed.
If you do wear glasses, DIA requires that your eyes show clearly through the lenses with no glare or flash reflection on them, and that there is a clear gap between your eyes and the frames. Glasses with heavy-rimmed frames should come off. Many people simply remove glasses for the photo, because reflections on lenses are hard to control outside a studio. That is a practical choice, not a rule. The rule is about what the finished photo shows: eyes that can be seen clearly.
Head coverings, hats and headbands
Hats, hoods, headbands and other head coverings must be removed for the photo. The one exception is a head covering worn for religious or medical reasons. If that applies to you, your face must still be fully visible in the photo, and you will need an endorsement in your passport.
If a covering casts a shadow over part of the face or covers the chin or the edges of the face, the photo will not meet the standard. The face in full view is the test.
Digital photo file requirements for online applications
Most applications now go through the online passport service, so the file specifications matter. Your digital photo must be:
- a portrait photo with a 4:3 aspect ratio, or 3:4 on a smartphone
- digital in origin (scans of printed photos are not accepted)
- in colour
- saved in .jpg or .jpeg format
- between 250KB and 5MB in size
- between 900 and 4500 pixels wide, and 1200 and 6000 pixels high
A few of these deserve emphasis. The scan rule surprises people: you cannot take a printed photo, scan it, and upload the scan. The file has to start life as a digital photo. The file size window also trips people up at both ends. A heavily compressed image saved by a messaging app may fall under 250KB, while an unedited shot from a newer phone can exceed 5MB.
Photos for babies and children
Babies get their own official guidance, because a baby cannot sit up and face a camera on request. DIA’s method: lie the baby flat on a plain, light coloured sheet, firmly fixed to a base or the floor, and take the photo from above. The baby’s eyes should be open, the face in full view, and there must be no people or objects in the background.
For older children, DIA publishes no separate set of photo rules, so the standard requirements apply: face straight on, eyes open, neutral expression, plain light background, no one else in the frame. A friend, family member or colleague can take the photo. Children aged 15 and under also need consent from a parent or guardian to apply, which is handled in the application rather than the photo.
Where to get a compliant photo
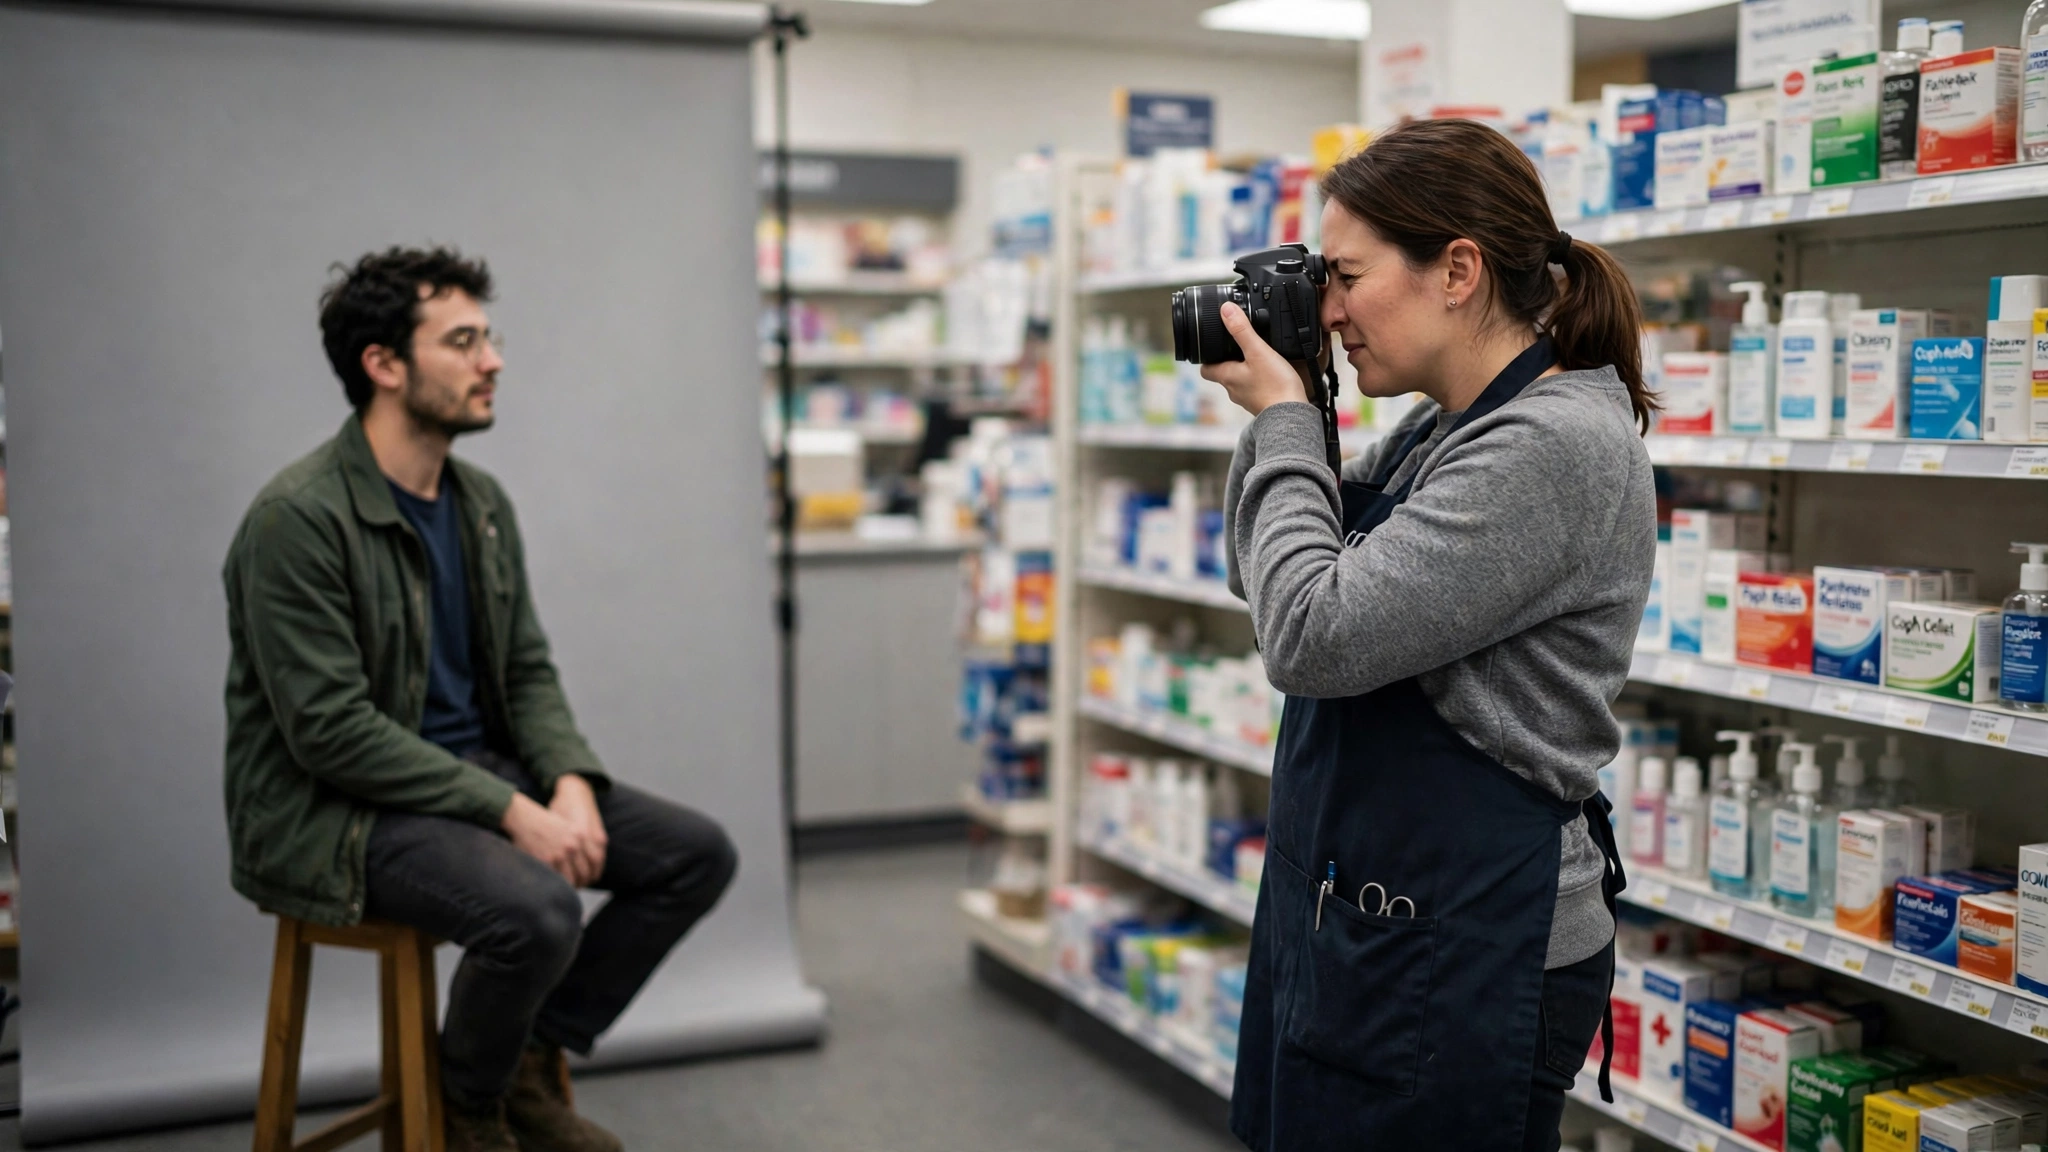
DIA lists three routes if you do not want to take the photo yourself: Warehouse Stationery stores, a pharmacy that offers a passport photo service, or a professional photographer.
The photographer should print the photo if you are applying on paper, or email you the digital file if you are applying online. DIA’s form guidance strongly recommends a professional service, because the business will help make sure the photo meets the requirements. Plenty of people still take their own successfully. What decides it is whether the finished photo passes the checklist.
The online photo checker
Before you start an online application, you can test your photo with DIA’s online photo checker at onlinephotochecker.passports.govt.nz. The checker tests the photo against the technical requirements and tells you whether it is suitable to upload to the Online Passport Service. If it is not suitable, it tells you why, and each upload attempt gives you a reference number to keep. Professional photo takers can use it too, to check a photo before handing it to a customer.
One caution: passing the checker is not the final word. A passport officer still assesses your photo when you apply, so a photo that passes the technical check can still be questioned on content grounds, such as expression, shadows or a covered face. Treat the checker as a strong first filter, not a guarantee.
Common reasons photos are rejected
DIA names its top three rejection reasons directly: the camera was too close or the photo is a selfie; shadows on the face or behind the head; and a background that is not plain. Each maps to a rule covered above, which is why the at-home checklist works through them in order.
Beyond those three, the requirements point to the usual failures: a photo older than 6 months, smiling or an open mouth, hair over the eyes, glare on glasses, a head covering worn without religious or medical grounds, a white or busy background, a filtered or retouched image, a scan of a printed photo, and a file in the wrong format or outside the size and pixel limits.
A rejected photo does not kill the application, but it does delay it while you supply a new one. That delay is the real cost if travel is booked.
Taking a passport photo at home, step by step
- Find your background. A plain, light coloured wall or sheet in a blue, grey or cream tone. Avoid pure white, and avoid walls with pictures or shelves.
- Set up the light. Face a source of soft, even light, such as a bright window on an overcast day, so no harsh shadow falls on one side of your face.
- Position yourself. Stand at least half a metre in front of the background, facing the camera squarely.
- Set the camera. Have someone else take the photo from about 1.5 metres away, holding the phone or camera at your eye level, in portrait orientation.
- Prepare. Take off hats, hoods and headbands. If you keep glasses on, check for reflections. Brush hair away from your eyes and the sides of your face.
- Pose. Look directly at the camera, eyes open, mouth closed, expression neutral, head straight.
- Take several shots. Small changes in light and expression make a difference.
- Check the file. Confirm it is a .jpg or .jpeg, between 250KB and 5MB, and within the pixel limits. Save any cropped version under a new name.
- Run the checker. Upload your best shot to the online photo checker and fix anything it flags.
How much does a passport cost?
The photo itself may be free if you take it at home, but the application is not. Govt.nz lists the standard fees: an adult passport (age 16 and over) costs $247 and is valid for 10 years, and a child passport (age 15 and under) costs $144 and is valid for 5 years. An urgent service also exists, with DIA aiming to process urgent applications within 3 working days, depending on demand and on the application being complete, photo included. Confirm current fees on passports.govt.nz when you apply, as they change from time to time.
Frequently asked questions
Can I take my NZ passport photo on my phone?
Yes. DIA allows photos taken with your own device, and it publishes video guides for iPhone and Samsung phones. Someone else has to take the photo, the phone should be held in portrait orientation at your eye level about 1.5 metres away, and the file has to meet the same format, size and pixel requirements as any other digital photo.
Is a white background acceptable for an NZ passport photo?
No, and this catches people out because some other countries ask for white. New Zealand requires a plain, light background that is not white, with strong contrast between your face and the background. Light blues, greys and creams are the colours DIA suggests.
Can I wear glasses in my passport photo?
Yes, if they are prescription glasses that are not tinted and not thick-framed, your eyes are clearly visible through the lenses, there is no glare or reflection, and there is a clear gap between your eyes and the frames. Sunglasses are not allowed, and heavy-rimmed frames should be removed.
How recent does the photo have to be?
Less than 6 months old. A photo taken for a licence or an earlier application years ago will not do, even if you look the same.
Does passing the online photo checker guarantee my photo will be accepted?
No. The checker confirms the photo meets the technical requirements for upload and tells you if it does not. A passport officer still assesses the photo as part of your application, so the content rules on expression, lighting and a fully visible face still have to be right.
Sources
All facts in this guide come from official New Zealand government sources:
- New Zealand Passports (DIA), Passport photos: https://www.passports.govt.nz/passport-photos
- New Zealand Passports (DIA), How to take a passport photo: https://passports.govt.nz/passport-photos/passport-photo-requirements/
- New Zealand Passports (DIA), Check your photo meets the technical requirements: https://www.passports.govt.nz/passport-photos/check-your-photo-meets-the-technical-requirements/
- New Zealand Passports (DIA), Online Photo Checker terms: https://onlinephotochecker.passports.govt.nz/Home/TermsAndConditions
- DIA online passport service, Getting started: https://dia.services.govt.nz/passports-getting-started/
- Govt.nz, Get or renew a New Zealand passport: https://www.govt.nz/browse/passports-citizenship-and-identity/get-or-renew-a-new-zealand-passport/get-or-renew-a-new-zealand-passport/
- New Zealand Passports (DIA), PAS300 renewal guide notes (printed photo rules): https://www.passports.govt.nz/assets/Uploads/Forms/Adult-Renew.pdf
A final note
This guide summarises the official requirements to help you prepare, but it does not decide anything. The New Zealand Passports service makes the final decision on whether a photo is acceptable, and its staff assess every photo submitted. If your situation is unusual, for example a medical condition that affects how you can be photographed, check passports.govt.nz or contact the Passports service directly before you apply.