Skirting Boards in NZ: Profiles, Sizes, Materials and Fitting
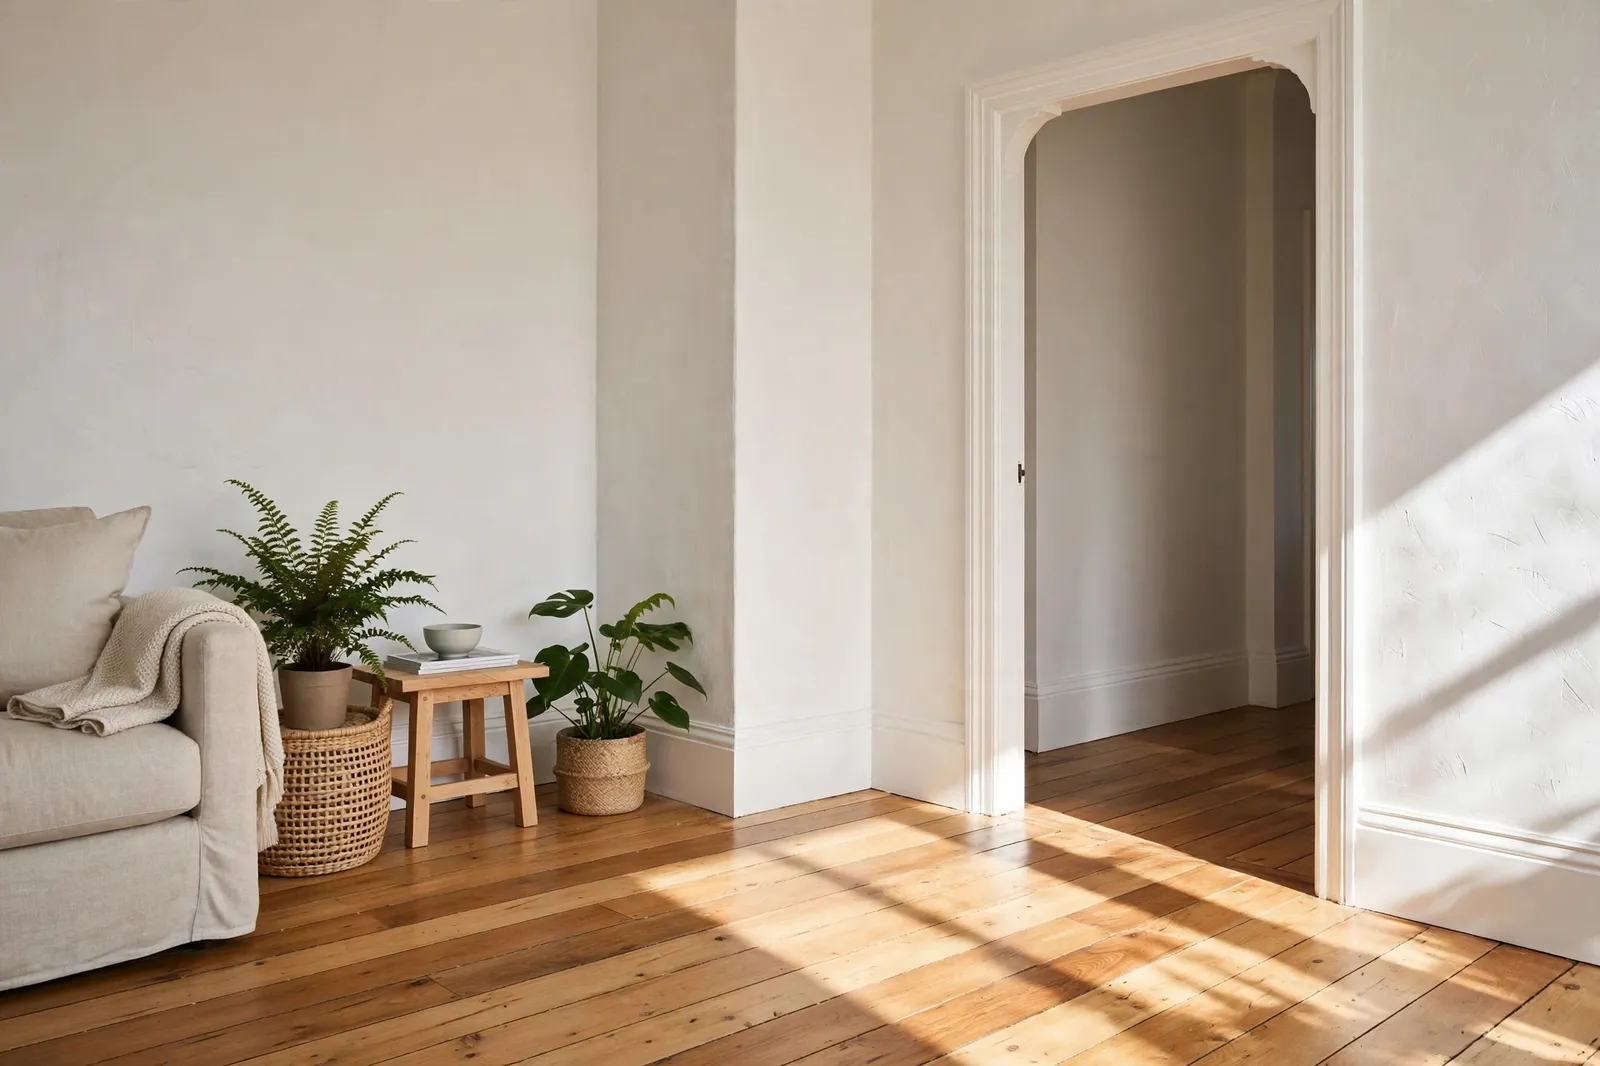
Skirting board is the strip of trim that runs along the bottom of an interior wall, where the wall meets the floor. It is easy to overlook, yet it does several jobs at once. It protects the bottom of the wall lining from vacuum cleaners, mop water, chair legs and kicked boots. It covers the rough bottom edge of the wall lining itself, and it hides the gap that has to be left around many floor coverings so they can move. It also finishes the room: the height and shape of the skirting is one of the quiet signals that date a house, which is why getting it wrong in a renovation shows up so clearly.
This guide works through the profiles and sizes New Zealand manufacturers actually catalogue, the two main materials (MDF and finger jointed pine), how skirting interacts with flooring, and what is involved in fitting or replacing it. Specifications come from manufacturers’ own documents, mainly Hume Pine (NZ), the country’s major mouldings maker, and from BRANZ and flooring manufacturers’ guidance where noted.
Skirting, architrave and the other trims
The mouldings in a room are a family, and each member has its own place.
Skirting runs horizontally along the floor line. Architrave does a similar finishing job vertically and across the top of door and window openings, covering the joint between the door or window frame and the wall lining. The two are often chosen in the same profile so the room reads as one set, and Hume Pine sells most of its profiles as dual purpose, designed to be used as either skirting or architrave. The usual convention is that the architrave is the same profile in a narrower width, and the skirting is left slightly thicker or deeper in profile so the architrave appears to finish into it rather than the other way round.
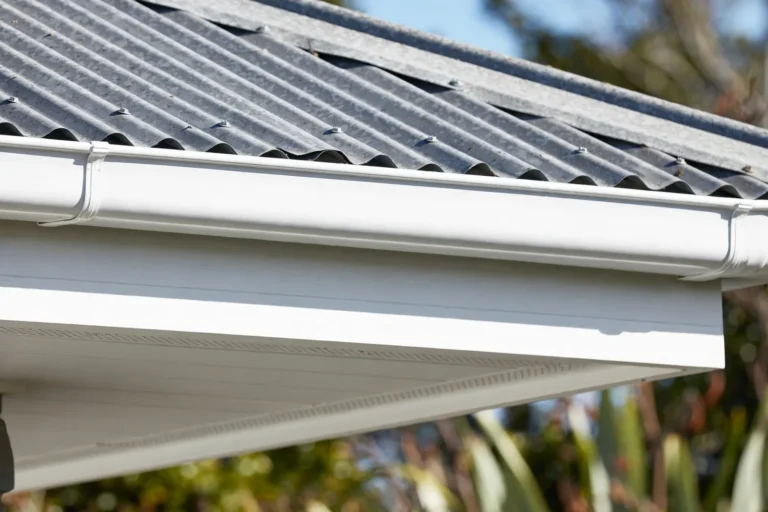
At the ceiling, the equivalent trim is cornice or scotia, which covers the wall-to-ceiling joint. Hume’s catalogues list small sections such as quad and scotia as separate cover mouldings. A small scotia or quad also turns up at floor level, but there it is doing a different job: it is the bead used to cover the expansion gap of a floating floor when the skirting itself has been left in place (more on that below). Skirting is also a different board from fascia: fascia runs outside at the roof edge and carries the spouting, as the fascia board guide sets out in detail, whereas skirting is an interior finishing trim with no weather or structural role at all.

The profiles New Zealand makers catalogue
Profile names are not standardised across the industry, so the safest reference is a manufacturer’s own range. Hume Pine (NZ) catalogues its Pinetrim pine profiles and Silktrim MDF profiles under names such as these:
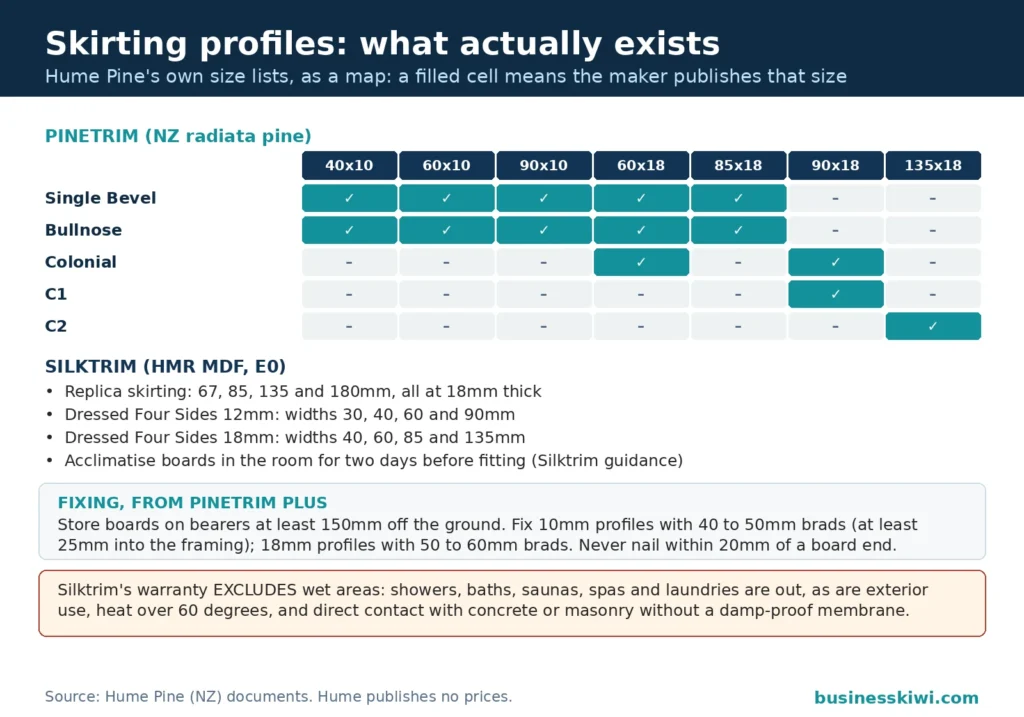
- Single bevel. A plain board with one angled face at the top. In pine it is sold at 40 x 10mm, 60 x 10mm and 90 x 10mm, and in the heavier 60 x 18mm and 85 x 18mm. This and the bullnose are the default choices in much modern housing: neat, easy to dust, hard to get wrong.
- Bullnose. A plain board with a fully rounded top edge, in the same size range as single bevel. The round edge is a little more forgiving of knocks than a sharp arris.
- Splayed and half splayed. The top of the board slopes back toward the wall, fully in a splayed profile and part way in a half splayed, which keeps a small flat face. Hume’s Silktrim MDF catalogue includes splayed and half splayed profiles among its standard skirting and architrave drawings. Splayed boards shed dust and read as slightly more traditional than a square board.
- Pencil round and square dressed. A pencil round has just a small radius on the top front edge; a dressed four sides (D4S) board is square edged all round. Hume’s Silktrim dressed boards come in 12mm thickness at 30, 40, 60 and 90mm widths, and in 18mm at 40, 60, 85 and 135mm. These plain sections are what most current new builds use, often at 60mm or 90mm high.
- Colonial and Government. Stepped, shaped profiles with a period feel. Hume’s pine Colonial range runs at 60 x 18mm and 90 x 18mm, with two taller versions badged C1 (90 x 18mm) and C2 (135 x 18mm). Its Pinetrim Plus brochure also draws a Government skirting at 90 x 18mm with a matching 60 x 18mm architrave, a profile name that echoes the state house era.
- Replica. Hume’s Silktrim MDF range includes a Replica profile at 67, 85, 135 and a full 180 x 18mm, heights that exist largely so period homes can be matched without a custom machining run.
Height is where era shows. Villas and bungalows were built with high studs and tall, often elaborately shaped skirting, sometimes with a separate shoe mould at the floor. The 135mm and 180mm profiles in current catalogues are aimed squarely at those houses. Post-war and modern homes trend the other way: lower ceilings, plainer rooms, and skirting at 60mm to 90mm in a square or single bevel profile. None of this is a rule, but a 180mm board in a low stud 1990s room, or a 60mm square board in a villa, will look out of proportion to most eyes.
Materials: MDF and pine do most of the work
HMR MDF (Silktrim)
Hume Pine (NZ)’s Silktrim range is machined from HMR (high moisture resistant) MDF, a reconstituted board of wood fibre, wax and formaldehyde resins, made in Silktrim’s case from plantation rubberwood and rated E0 for very low formaldehyde emissions. The profiles are factory sanded and finished with two coats of acrylic primer, buffed between coats, so on site they need only top coats.
MDF’s strengths are consistency and finish. There is no grain, no knots and no finger joints to telegraph through paint, lengths are straight, and the primed surface takes enamel well. Hume’s Silktrim installation document recommends acclimatising the profiles for two days in the room where they will be installed, and fixing 12mm thick profiles with 40 to 50mm finishing brads, the same framing penetration logic it uses for pine.
The limits matter more. High moisture resistant is not waterproof. Hume Pine (NZ) does not warrant Silktrim around showers, baths, saunas, spas or laundries, in exterior applications, where it is exposed to temperatures above 60 degrees Celsius, in direct contact with concrete or masonry unless a damp proof membrane separates them, or in homes with subfloor heating. A laundry or bathroom is therefore a considered choice, not a default, and is covered further below. MDF also dents more readily than pine at the bottom edge, and a dent that breaks the paint film in a damp spot can swell; swollen MDF cannot be sanded back to shape the way timber can.
Finger jointed pine (Pinetrim)
Hume’s Pinetrim is machined from New Zealand grown radiata pine that has been graded, defected, kiln dried and finger jointed before machining, which is why long lengths stay straight and knot free. It is sold untreated for ordinary interior use, pressure treated to hazard class H3.1 where a treated product is wanted, and factory primer coated in either untreated or H3.1 form. Solid clears are also available in some profiles for a natural or stained finish, including smaller clears treated to H3.2 in the 40 x 10mm and 60 x 10mm single bevel and bullnose sizes.
Pine is the more repairable material. Dents can be filled and sanded, the board can be scribed tightly to uneven floors, and a damaged length can be cut out and replaced with a matching profile that the makers still catalogue. The trade-offs are that finger joints and grain can show through gloss paint if preparation is skimped, and kiln dried pine will move a little with the seasons, which is why the makers are so insistent on acclimatisation and on not over-fixing.
Solid timber, uPVC and aluminium
Solid timber skirting in native species is mostly a renovation material now: rimu and matai boards in older homes, worth keeping and repairing wherever they survive, with new solid profiles generally limited to clears in the pine ranges. Purpose made uPVC and aluminium skirting systems exist overseas, including shadowline systems that sit flush with the wall lining, but no New Zealand manufacturer publishes its own skirting profile range in those materials that could be verified for this guide, so they are not specified here. In practice, almost every skirting board sold in New Zealand is MDF or pine.
Wet areas
Bathrooms and laundries are where skirting choices go wrong, because the board sits exactly where mop water, splashes and leaks collect. Three points from the sources above cover most of it. First, MDF is a risk managed product in wet rooms: Hume’s warranty exclusions for Silktrim name laundries and wet areas expressly, so an HMR board in a bathroom is outside the maker’s warranty even though the board is moisture resistant. Second, where a wet area floor is tiled, BRANZ’s wet area guidance recommends a waterproof membrane across the floor where the substrate is absorbent, turned up the walls (BRANZ suggests at least 150mm in its tiled shower guidance), which puts a waterproof layer behind the bottom of the wall where skirting would otherwise sit. Third, many tiled bathrooms simply omit skirting and run a tile skirting or upstand instead, which removes a vulnerable timber or MDF edge from the wettest line in the room. Where painted skirting is used in a wet area, a treated pine (H3.1 is the class Hume offers for Pinetrim) with every cut end and the back face primed, and paint kept in good order, is the more defensible specification of the two common materials.
Sizes, and choosing a height
Skirting sizes are written height first, then thickness: a 90 x 18 board stands 90mm tall and is 18mm thick. From the catalogues above, the working NZ ranges are:
Thickness has a practical job beyond strength. Wall linings and door architraves vary in how far they stand off the framing, and the skirting needs to sit at least flush with, and usually slightly proud of, the architrave it butts into, or the junction looks stepped and collects dust on the ledge. That is one reason 18mm skirting is common alongside 18mm architrave sets, while the slimmer 10mm and 12mm boards suit narrower architraves and lower budgets.
Choosing a height comes down to three things. Ceiling height and room proportion come first, as discussed above. Second is replacement logic: in a renovation, matching the existing height avoids a visible paint line or a strip of unlined wall appearing above or below the old board line, and avoids reworking every architrave junction. Third is floor level change. In older homes floors are seldom dead level, and original skirting was often scribed to follow the floor. A new board of the same nominal height fitted level can leave gaps at the dips; the fix is scribing the bottom edge, not ordering a taller board and burying the difference unevenly around the room.
Skirting and flooring
Skirting and the floor covering are fitted as a pair, and the sequence matters.
Floating floors (laminate, hybrid and click fit vinyl) are never fixed down and must be free to expand and contract. Quick-Step’s laminate installation instructions for Australia and New Zealand require an expansion joint of at least 8 to 10mm on all sides, around pipes, thresholds and under doors, and state that the gap must be left open and never filled with sealant or adhesive, because sealing it stops the floor moving. That gap has to be covered by something attached to the wall, not the floor, and skirting is the usual answer: the same instructions finish the expansion joints with a skirting fixed to the wall or subfloor edge, never fastened through the floating floor itself. Where existing skirting is staying, the instructions offer the alternative of a scotia profile fixed over the gap, which is why so many floating floor retrofits gain a small quarter round bead along the skirting. Engineered and solid timber floors move too, and while figures differ by product, the working principle is the same: skirting covers a movement gap and must not pin the floor down.
Carpet is the forgiving case. It is laid after skirting is fitted, the carpet edge tucks to the skirting face, and small gaps or paint imperfections at floor level disappear under the pile. Skirting in carpeted rooms is therefore painted before the carpet goes in wherever the programme allows.
Tiles and sheet vinyl sit between the two. Sheet vinyl is usually fitted up to the skirting; tiles in wet areas often replace skirting with a tile upstand, as noted above. Elsewhere, painted skirting over tiles is common, and the critical detail is paint condition at the floor line, where mopping water lands.
In most build sequences skirting goes in after wall linings and after hard flooring is laid, where the board must cover its edge gap, but before carpet. In renovations the order is less tidy, so the decision between new skirting and a scotia bead should be made before the flooring is ordered.
Fitting and replacing skirting
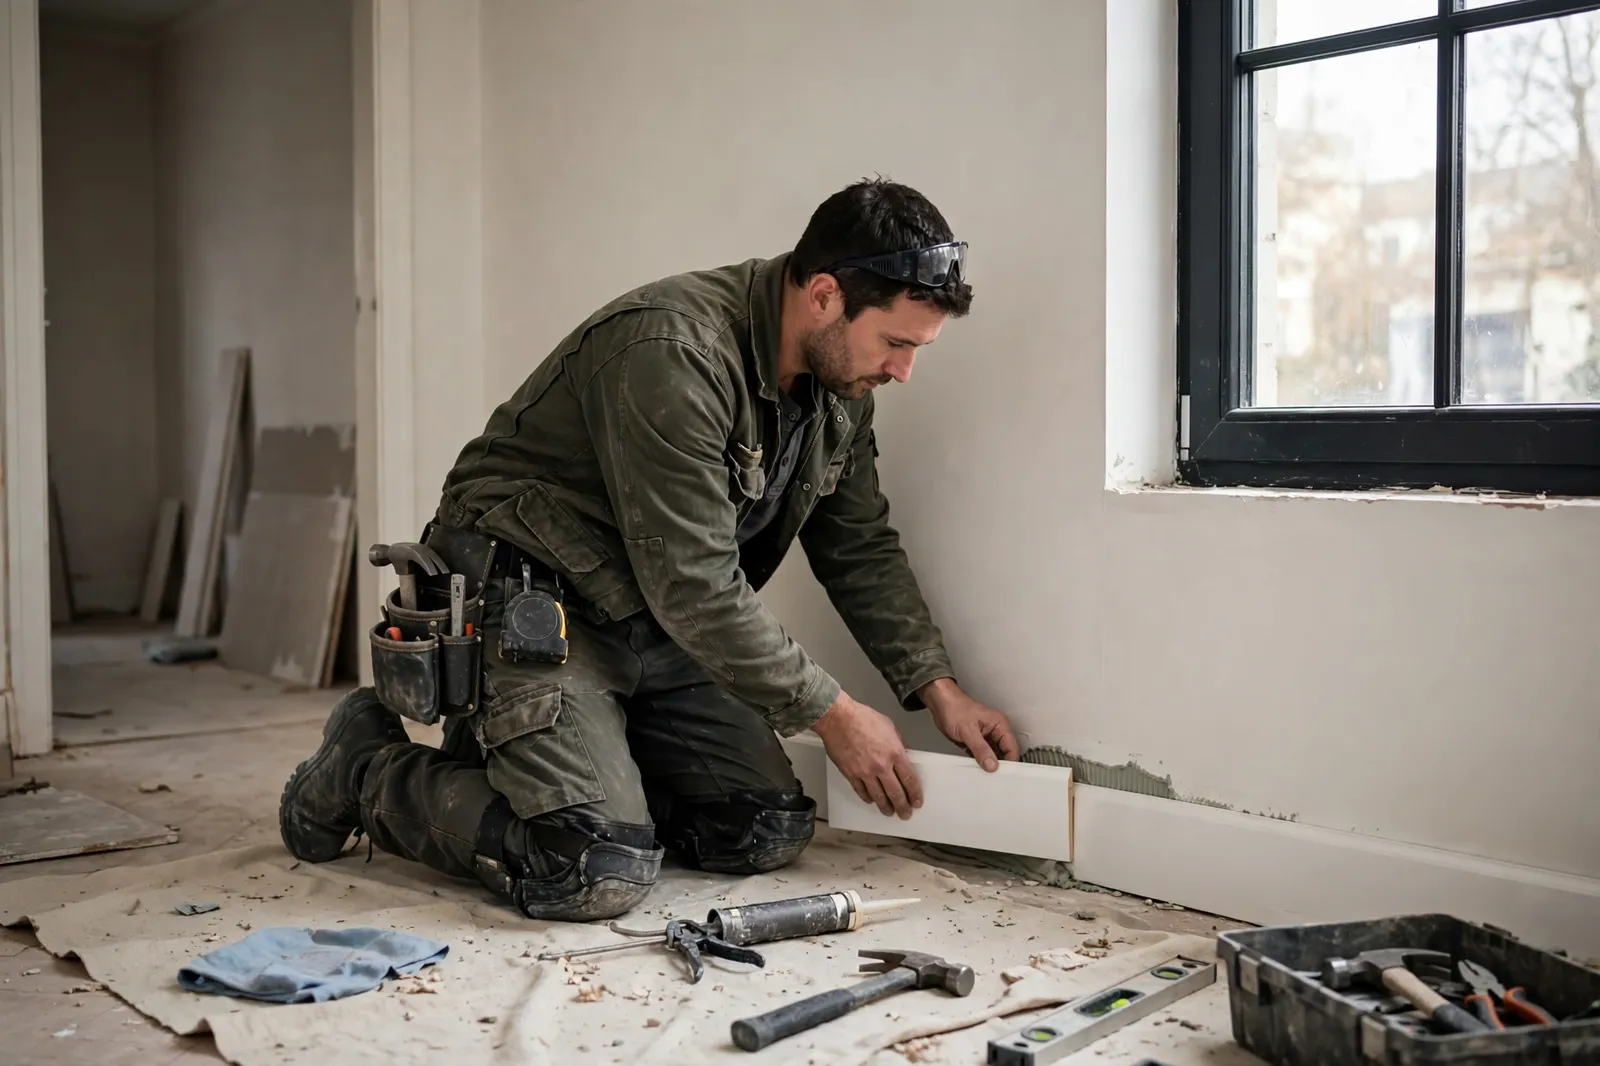
The manufacturers’ documents are consistent on preparation, and it is where most failures start. Kiln dried pine and MDF both need to reach equilibrium with the room: Hume’s Pinetrim guidance says to store profiles on a level, ventilated surface on bearers at least 150mm off the ground, protected from sun and moisture, then unpack them and let them reach equilibrium moisture content before installation. Silktrim’s document says two days acclimatised in the room itself. Timber fitted too wet shrinks and opens its joints; fitted too dry, it swells and can push mitres apart.
Cutting and joints, at the level the makers describe: use sharp tools, and for powered saws a finishing blade with a thin kerf and high tooth count, cutting with the profile face up and tidying residual fibre with a light sand (that is the Pinetrim Plus brochure’s advice, and it applies to MDF equally). Length joins along a wall should be mitre cut and glued: Hume specifies PVA or PU adhesive for the joint. Internal corners are best scribed, cutting one board’s end to the negative of the adjoining board’s profile so the joint stays closed when walls are out of square, as most walls are. External corners are mitred. Fixing is lighter than many people expect: for 10mm Pinetrim profiles, 40 to 50mm finishing brads giving at least 25mm of penetration into framing; for 18mm profiles, 50 to 60mm brads; do not nail within 20mm of the end of a profile or it may split. Contact and wall construction adhesives are an approved alternative or supplement in Hume’s documents, used as the adhesive maker directs. Over-fixing is a fault, not a virtue: a board pinned rigidly at every point cannot move with the building and will crack its paint at the joints instead.
Finishing is specified just as closely. Fill nail holes with acrylic interior filler (plastic wood filler for clear finished clears), sand with 180 grit paper once cured, or 280 to 320 grit on Silktrim’s finer primed surface, then apply two to three coats of acrylic enamel, sanding lightly between coats. Raw Pinetrim gets an oil based primer undercoat first, because Hume notes an acrylic primer can raise the grain.
Removing old skirting without wrecking the room is a patience exercise. Cut the paint line along the top edge first so the paint film does not tear the wall lining’s paper face, then work a wide scraper or pry bar along the board, levering at fixing points and packing behind the tool so the lining is not dented. Expect to find things behind old boards, especially in pre-war homes: moisture damage and rot at external corners and under windows, borer flight holes in old native timber (flight holes in the board itself are usually cosmetic history; active borer in framing is a pest control conversation), and occasionally old wiring runs clipped where no modern sparky would put them. The safety line is simple: if you uncover wiring that looks damaged, added to, or simply ancient, stop and get a licensed electrician to look before you go levering around it. Nobody’s skirting is worth a shock.
Matching existing skirting in a renovation
Start by measuring what you have: height, thickness, and the profile shape, ideally from a removed offcut or an exposed end at a doorway, because named profiles from different eras and makers are similar rather than identical. A current catalogue profile may match closely: the Colonial, Government and Replica ranges exist precisely for period homes, and a 135mm or 180mm Replica or a 135 x 18 Colonial C2 covers many villa and bungalow boards. If the profile is close but not exact, replacing the whole room usually looks better than one new board among old ones, because the eye catches the odd board at corners and doorways. If nothing catalogued matches, joinery shops can machine a custom run from a sample or a full size drawing; that is a normal part of the trade, and it makes sense where a whole character house justifies it. The honest limit is that some hand run and obsolete profiles will never be matched exactly. In those cases, keeping every sound original board, repairing rather than replacing, and confining new profiles to whole rooms is the result that looks deliberate instead of approximate.
Looking after skirting
Maintenance is mostly paint maintenance. Skirting takes the knocks of the house, so expect to wash it down with the walls, touch in chips as they happen (a chip left open in a bathroom or at an external door is where water gets in), and repaint with the room on the room’s cycle. Enamel paint is the right finish precisely because it scrubs. Dents in pine fill, sand and repaint invisibly. Dents in MDF fill the same way, but keep expectations straight: MDF that has swollen from water cannot be repaired back to a crisp edge, and the fix is a new length, primed all round including the bottom edge before it goes in. Proud nail heads, opening mitres and a hairline crack along the top edge are the board telling you the house has moved; flexible filler along the top joint, rather than rigid filler, is what keeps that line closed.
Frequently asked questions
What is the standard skirting board height in NZ?
There is no single standard. Current manufacturers’ catalogues run from 40mm to 90mm in the everyday pine profiles, 30mm to 135mm in MDF dressed boards, and up to 180mm in replica period profiles. Most modern homes use 60mm or 90mm; period homes need the taller ranges to look right and to cover the original board line.
Can I use MDF skirting in a bathroom or laundry?
You can, but know the limit. Hume Pine (NZ) does not warrant its Silktrim HMR MDF around showers, baths, saunas, spas or laundries. Moisture resistant is not waterproof. Treated pine with cut ends sealed and paint kept up, or a tile upstand instead of skirting, are the safer specifications in genuinely wet rooms.
Does skirting go on before or after flooring?
Usually after hard flooring, so the board covers the floor’s edge expansion gap, and before carpet, which tucks to the board. Floating floors are the strict case: Quick-Step’s instructions require an 8 to 10mm expansion gap left open around the room, covered by skirting fixed to the wall, never by anything fastened through the floor.
How much does skirting board cost in NZ?
Manufacturers publish profiles and sizes, not prices, so there is no official price list to quote. Skirting is sold through building merchants priced per lineal metre, and the figure moves with material, profile complexity, height and finish: a plain primed MDF board at one end, a tall machined period profile in pine at the other. Measure the full perimeter, add corners and waste, and price the whole list at once.
Can I match the skirting in my villa or bungalow?
Often, yes. Current catalogues include Colonial profiles to 135mm and a Replica MDF profile to 180mm aimed at period homes. If your board is an obsolete hand run profile, a joinery shop can machine a custom run from a sample. Where no match is possible, replacing a whole room at a time looks better than mixing near matches board by board.
Sources
- Hume Pine (NZ), Pinetrim product pages: Single Bevel, Bullnose, Colonial and OZ Colonial profiles, humepine.co.nz
- Hume Pine (NZ), Pinetrim Plus moulding profiles brochure (profile drawings, cutting, fixing and finishing guidelines), via productspec.co.nz
- Hume Pine (NZ), Pinetrim Installation, Finishing and Health and Safety document, via productspec.co.nz
- Hume Pine (NZ), Silktrim product pages: Replica, Dressed Four Sides 12mm and 18mm, Colonial Scotia, Bevelled Cornice, humepine.co.nz
- Hume Pine (NZ), Silktrim Installation, Finishing and Health and Safety document (HMR MDF composition, acclimatisation, fixing and warranty exclusions)
- Quick-Step (Unilin), Laminate flooring installation instructions, Australia and New Zealand edition (floating installation and expansion joints)
- BRANZ, Wet area tips and Waterproofing tiled showers, Build magazine, buildmagazine.org.nz
Disclaimer
This article is general information about skirting board profiles, materials and fitting in New Zealand. It is not building advice for a specific property. Product ranges, sizes and warranties change, so confirm current details in the manufacturer’s literature before ordering, and for work involving wall linings, wet area waterproofing or anything structural, get advice from a licensed building practitioner.
More guides for homeowners and building projects are in our Business & Industry hub.