Clear Labels NZ: NZ Guide, Requirements & Practical Information
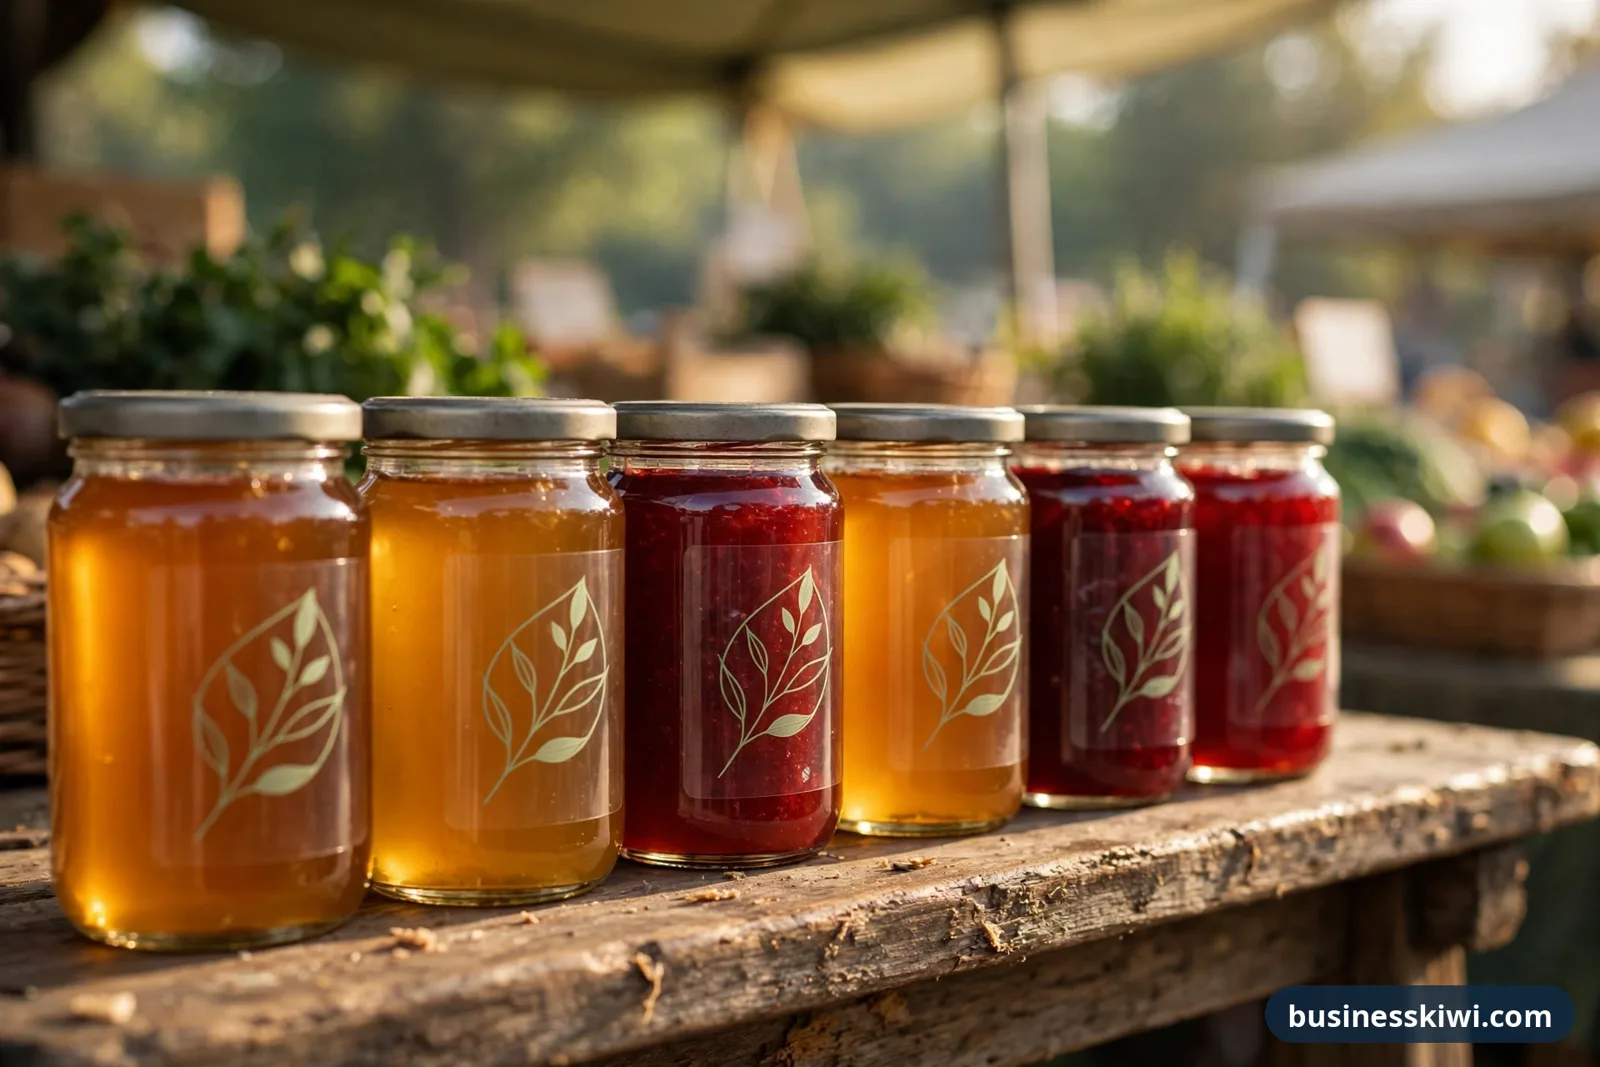
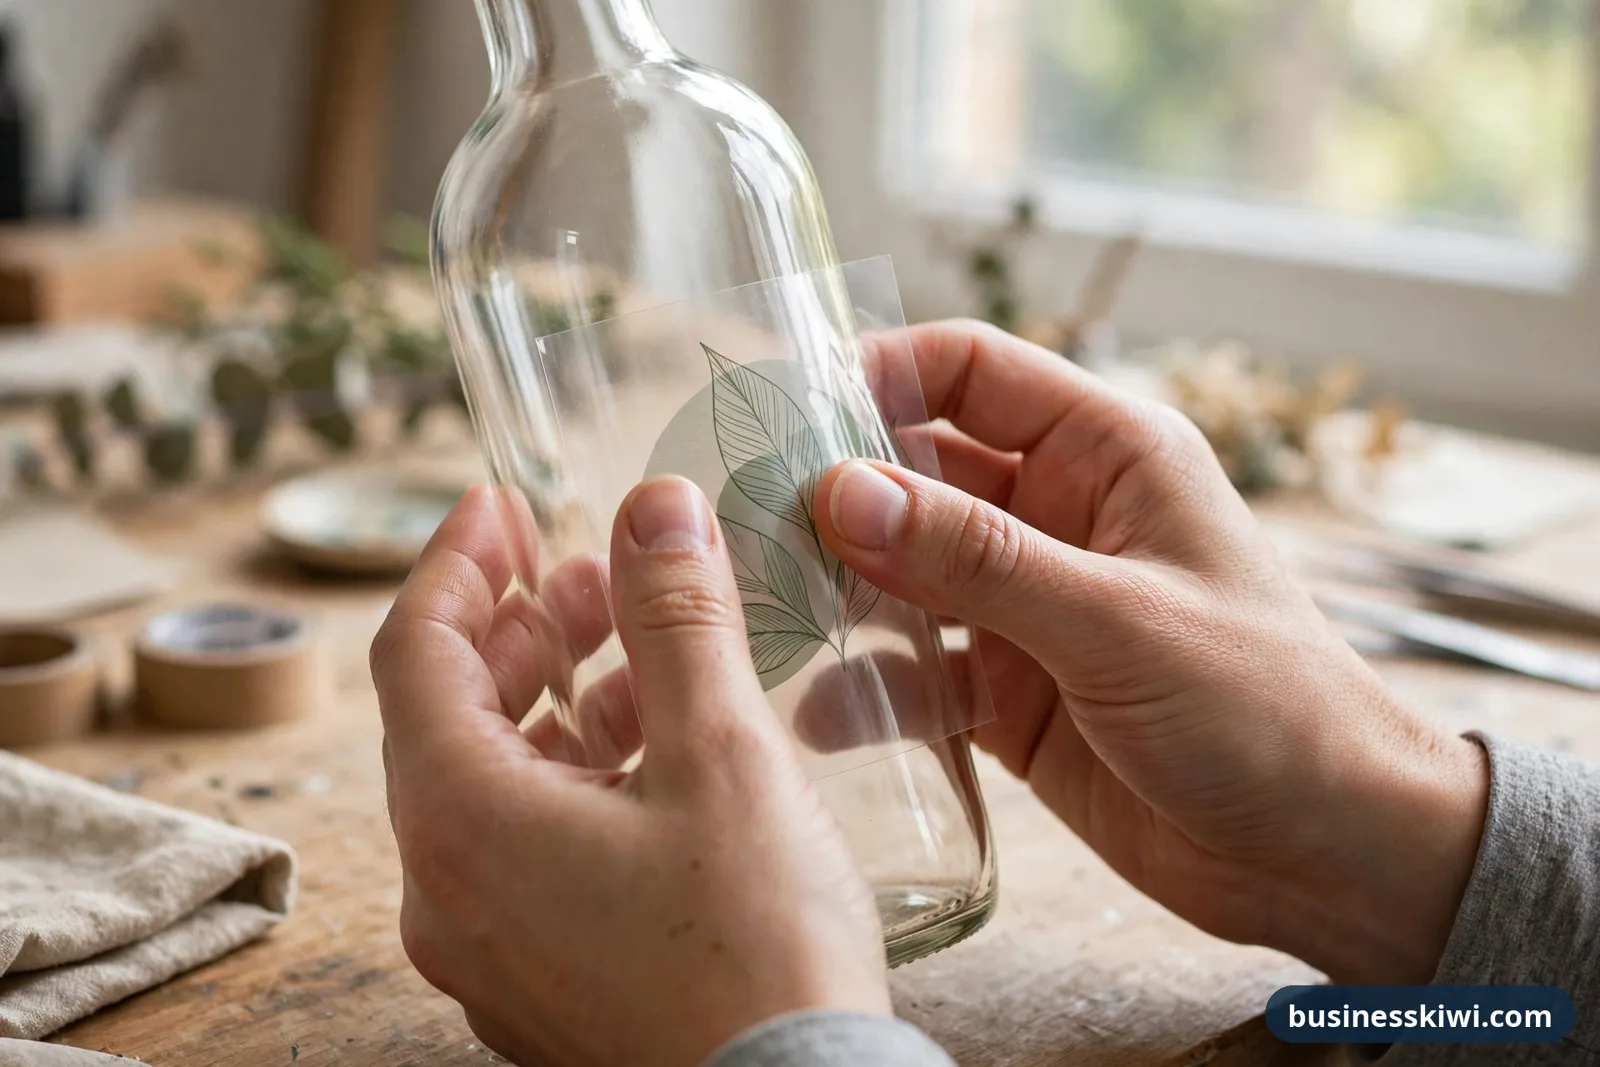
The short answer: A clear label is a self-adhesive label printed on transparent film instead of paper or white film. The unprinted parts stay see-through, so the product itself becomes the background of the design. Printers call the result the “no-label look”: the artwork appears to sit directly on the glass or plastic. Clear labels suit jars, bottles, cosmetics and chilled drinks, and they live or die on three things: the right film, the right adhesive, and a design that stays readable with no white background behind it.
A jar of golden honey does its own selling. So does a deep red preserve or a pale face oil. An opaque label hides the thing the customer wants to see, while a clear label turns the contents into part of the packaging. This guide explains what clear labels are made of, how they are printed, how to design one people can read, and how to order without wasting money. Product facts come from NZ label makers’ own material pages. The legal pointers come from the Ministry for Primary Industries (MPI) and Consumer Protection, and are general information only, not legal advice.
What a clear label actually is
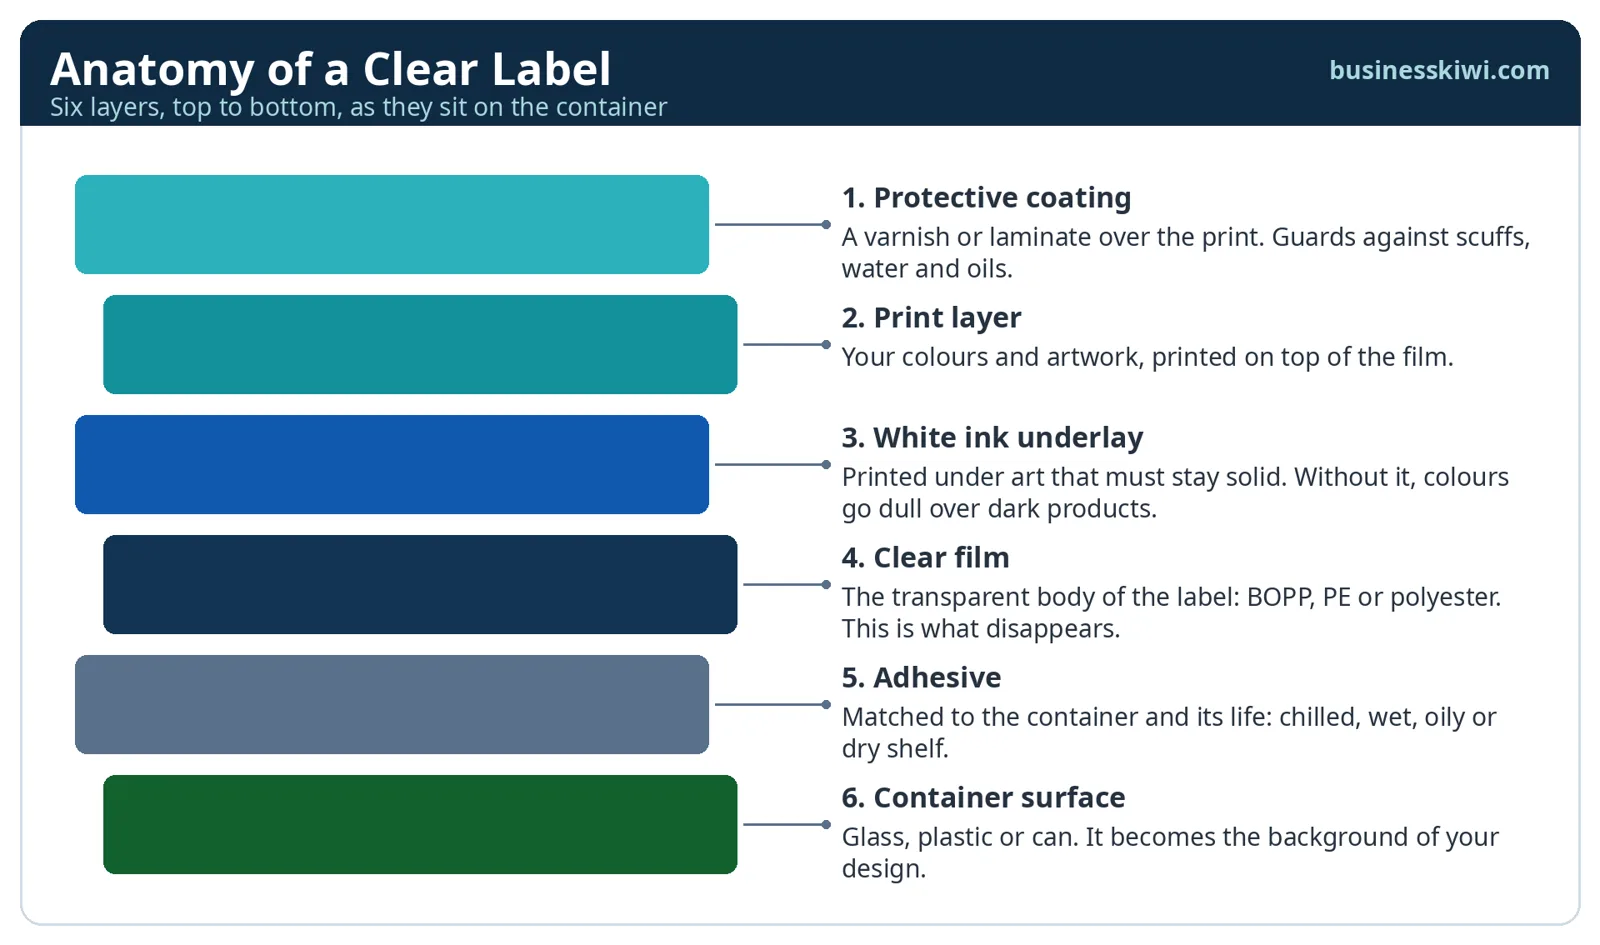
A clear label has the same build as any other pressure-sensitive label: a printed film face on a layer of adhesive, carried on a backing liner until it is peeled off and applied. The difference is the face material, a transparent film, so everything that is not printed disappears against the container.
Hally Labels, which manufactures labels in Auckland and Christchurch, puts clear film inside its synthetic materials range. Its materials page explains that synthetic label films are based on PP, PE, PO or PVC, come in white or clear, and resist moisture and chemicals well. Glossy film, it notes, gives ink a good surface to grip, producing bright, dense colours.
Because the film carries no colour, the container does the visual work. In Hally’s own labelling guide, clear areas of a beer can design let the silver of the can show through. On clear glass, the product colour shows through instead. A dark jam darkens every colour printed over it, and a pale oil washes colours out. That fact drives most of the design rules further down this page.
The materials, compared
Four film families cover almost every clear label job in New Zealand, drawn from the makers’ own material descriptions.
| Material | Best for | Strengths | Watch out for |
|---|---|---|---|
| Clear BOPP (polypropylene) | Jars, bottles, food and drink packaging | The standard clear film; stiff enough to dispense cleanly, clear enough to disappear, resists water and oils | Less forgiving on squeezable bottles; can lift on tight curves |
| Clear polyethylene (PE) | Squeeze bottles, shampoo, personal care | Soft and conformable, flexes with the container instead of fighting it | Slightly less crisp look than BOPP; not the first pick for a premium glass finish |
| Clear polyester and vinyl films | Durable jobs, outdoor or hard-wear use | Tough, stable films with strong resistance to moisture and chemicals | Stiffer feel; usually more than a food jar needs |
| Clear compostable films (PLA, NatureFlex) | Compostable packaging and brands built on it | Hally lists a clear PLA film with a certified compostable adhesive, and NatureFlex clear film from wood pulp | Only makes sense matched to compostable packaging and a real composting pathway |
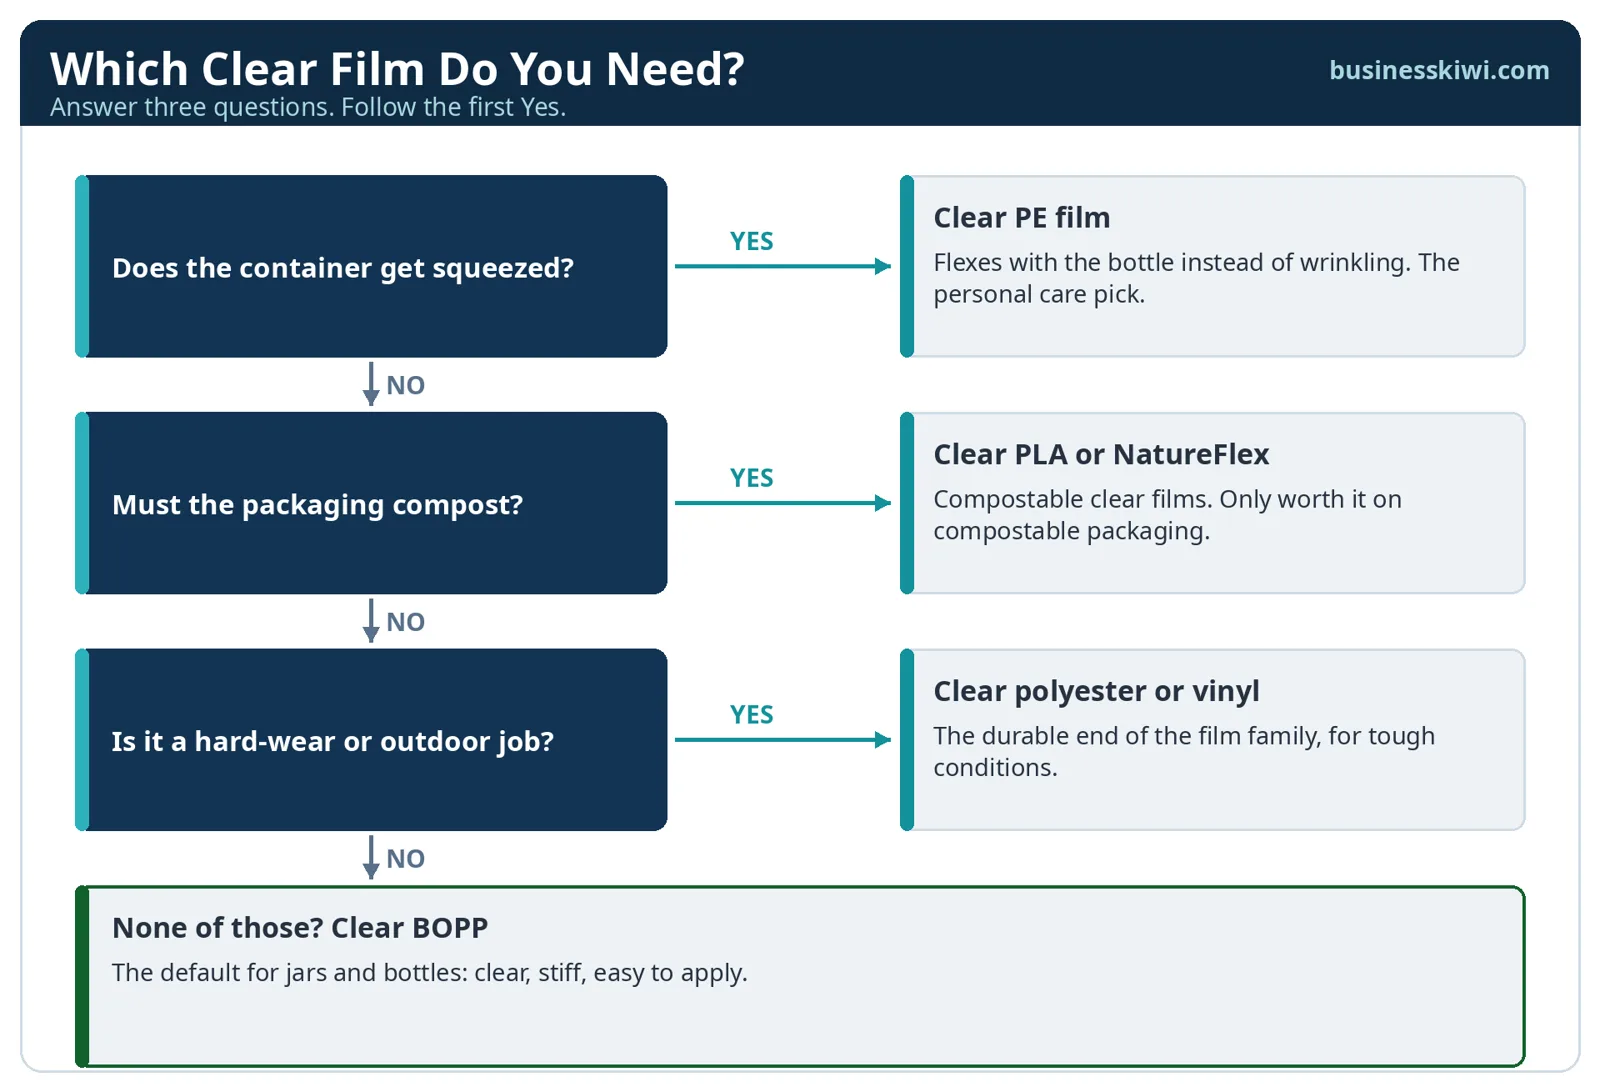
Polypropylene is the default because it balances clarity, stiffness and price, and Hally also offers a clear recycled PP film it recommends for chilled applications. Polyethylene earns its place wherever the container gets squeezed, because a stiff label on a soft bottle wrinkles and peels at the edges.
Finish matters too. Gloss clear film is the usual choice on glass because it blends with the shine of the container. A matt finish cuts reflections and reads as softer and more premium, although Hally notes matt films are also common in logistics work, where thermal transfer printers prefer them.
Adhesives and surfaces: where clear labels succeed or fail
The film gets the attention, but the adhesive decides whether the label is still on the jar in six months. Hally states on its prime labels page that its materials come with a full range of adhesives for tough environments, including moisture and extreme temperature demands. Three questions sort most jobs out:
- Will the product be chilled or frozen? Condensation forms on cold glass and plastic, and a standard adhesive can lose its grip or turn milky at the edges. Chilled work needs an adhesive graded for cold, damp application.
- Will the surface be wet, oily or handled a lot? Shower products and balms attack adhesive edges. A permanent adhesive with good water resistance is the safer pick.
- Does the label ever need to come off? Removable adhesives exist for reusable containers, but a removable grade on a product label is a common and expensive mistake.
The surface matters just as much. Clear labels perform best on smooth glass and rigid plastic, where the film makes full contact. VistaPrint NZ gives the same advice for its own clear labels: apply them to a clean, smooth and dry surface. Textured or greasy containers defeat any adhesive, and tight curves need a smaller label or a more flexible film.
White ink: the layer most people get wrong
Here is the trap. Standard printing inks are translucent. On white paper that does not matter, because the paper reflects light back through the ink. On a clear film over a dark product, nothing sits behind the ink, so colours go dull and fine text can vanish.
The fix is white ink, printed first, under the parts of the design that must stay solid. Printers call it a white underlay. With white ink behind it, a colour prints at full strength, a logo stays opaque, and small text remains readable. Without it, the same artwork looks like a watermark.
A good clear label design puts white ink under text, logos and any colour that must match the brand exactly, and leaves deliberate windows of true clear film where the product should show through. Ask the printer for a proof on clear film, or a simulation over a photograph of your filled container. A proof on white paper will lie to you every time.
Design rules that keep clear labels readable
Clear labels punish lazy design faster than any other label type.
Design rules for clear labels
- Design against the filled product, never against a white screen. Your background is honey, jam, oil or empty glass, and it changes with every flavour.
- Keep text bold and large enough to read at arm’s length. VistaPrint NZ advises exactly this for its clear labels: legible fonts, a design that reads from a distance, and colours that stand out against the product inside.
- Use white ink or a solid printed block behind small text. Ingredients should never float directly over a dark product.
- Limit the palette. Two or three strong colours beat a rainbow that turns muddy over a coloured fill.
- Test one printed label on the real container, in real shop lighting, before you approve a run.
Skincare makers lean on clear labels heavily, because a minimal label suits the category. If that is your direction, our guide to starting a skincare business in NZ covers the compliance side of getting a product to market.

Printing methods: digital and flexo in plain terms
Two print methods produce nearly every clear label sold in New Zealand, and the choice is mostly about run length.
Digital printing prints straight from the file, with no printing plates. Hally runs HP Indigo digital presses and describes digital as ideal for short runs and multiple varieties, because the lack of plates cuts preparation cost and makes design changes easy. Digital also allows variable data, so batch codes or dates can change from label to label. For a small producer testing a product, digital is almost always the sensible start.
Flexographic printing (flexo) uses flexible plates, one per colour. Setup costs more, so it suits long runs of one design. Hally’s flexo presses print up to 11 colours plus embellishments, and the per-label cost falls as the run grows. If you sell one product in volume and the design rarely changes, flexo usually wins on unit cost. Tell the printer your quantity, number of designs and how often the design changes, and let those answers pick the press.
Sizes, shapes and formats
Labels are die-cut to shape, so circles, ovals and fully custom outlines are all routine. Hally makes custom prime labels in any shape and size, for hand or machine application. The practical points:
- Size the label to the flat panel of the container. Hally’s labelling guide makes the same point for cans: the flat area is the place to label, and curves at the shoulder or base cause lifting.
- Build in a safety margin, so a small cutting shift never clips a word.
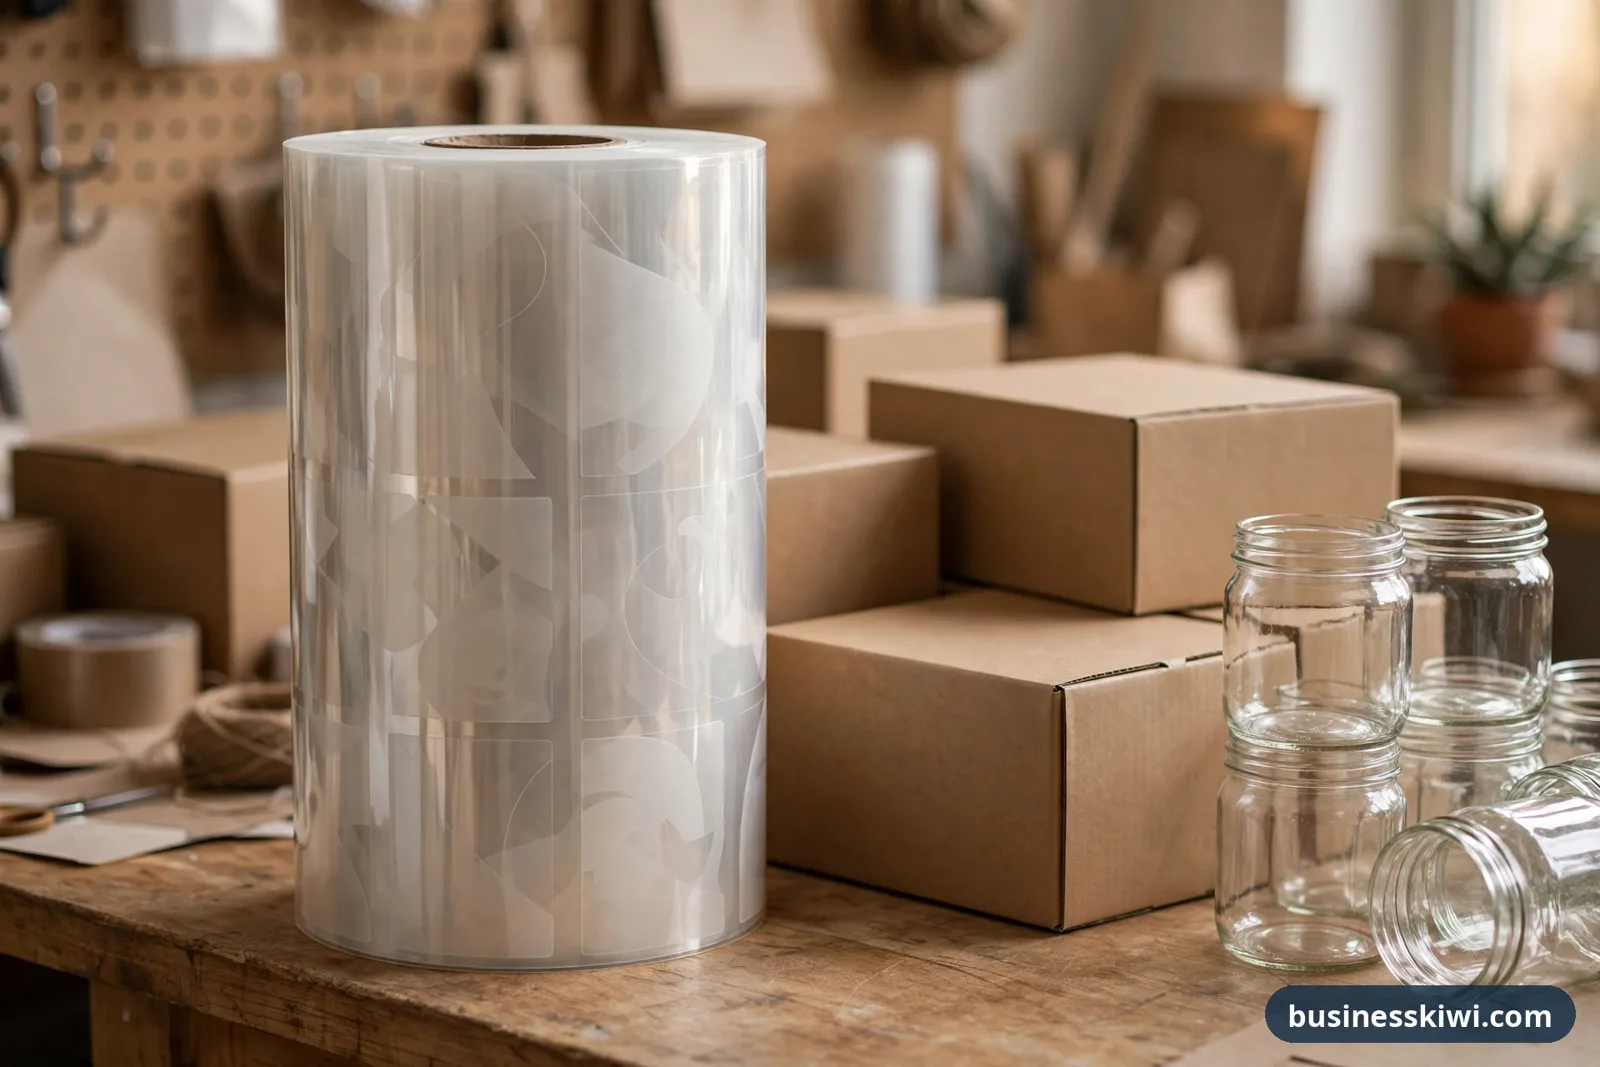
- Choose rolls or sheets. Rolls suit volume and applicator machines; the printer will ask about core size and unwind direction if a machine is involved. Sheets suit very small runs.
- Order a small first run. It costs a little more per label, but it proves the size, the adhesive and the readability before you commit.
How to order, step by step
Ordering clear labels, step by step
- Measure the flat panel of your container and note the shape you want.
- Pick the film: BOPP for most jars and bottles, PE for squeezables, compostable film only if the packaging itself composts.
- Tell the printer the conditions: chilled, frozen, wet, oily or dry shelf.
- Send artwork with the white ink marked as its own layer.
- Approve a proof, ideally a printed sample on clear film on your filled container.
- Confirm quantity, roll or sheet format, and core size if you machine-apply.
- Check the first labels off the roll, if the printer offers a press check.
If the label order sits inside a bigger print job, our guide to print online services in NZ explains what to check before you pay. The artwork ground rules are covered in depth in our online printing guide, and they apply to label files just as much as to flyers.
What drives the price
No NZ label maker publishes a clear label price list, so any exact figure here would be invented. What can be stated honestly is the structure. Your quote moves with:
- Material. Specialty, compostable and recycled content films cost more than standard clear BOPP.
- Quantity. Setup is spread across the run, so per-label cost drops steeply as numbers rise. This is the biggest lever you control.
- Colours and white ink. More print colours, a white underlay and embellishments such as foil each add process steps.
- Finish and method. Lamination adds cost and protection together. Flexo adds plate costs up front and rewards long runs; digital skips plates and rewards short runs.
- Proofing and freight. Physical proofs, urgent turnaround and delivery all land in the final number.
Get two or three quotes against the same written specification. Quotes only compare when every printer prices the same film, adhesive, size, quantity and finish.
Watch-outs: the failures that waste a print run
Watch-outs
- Unreadable text. Pale ink straight onto clear film over a dark product is the classic failure. White ink or a solid block behind text fixes it.
- Wrong adhesive for the cold. Labels sliding or clouding in the chiller usually means a standard adhesive met condensation. Specify chilled use up front.
- Bubbles and silvering. Air trapped under a clear label shows as cloudy patches. Apply to a clean, dry surface and work from the centre out.
- Edge lift on curves. A label sized past the flat panel creeps up at the edges. Shrink the design or switch to a more flexible film.
- Assuming clear means invisible. On frosted glass or a matt container, the film edge and gloss difference can show. A sample on the real container settles it.
The NZ legal basics: what the label must still do
A clear label is still a label, and design freedom does not dilute the legal content. MPI’s retail food labelling guidance sets out the basics:
- The label must be attached to the food, easy to read, and written in English, and must meet the Australia New Zealand Food Standards Code, the Fair Trading Act 1986 and the Weights and Measures Act.
- It must show an accurate name or description of the food, lot or batch identification, and the name and physical address of the NZ or Australian business. A PO Box, website or email alone is not enough.
- Most food labels also need a nutrition information panel, an ingredients list in descending order, allergen declarations, date marks for food with a shelf life under two years, and the amount of food in text 2 mm or larger.
- Any nutrition or health claim must be provable, and MPI warns that getting labelling wrong can lead to a recall or a fine.
Two clear label traps follow. First, legibility: pale ink with no underlay can fail the “easy to read” test even if every required word is present. Second, claims: under the Fair Trading Act, as Consumer Protection explains it, a business must not mislead consumers or make claims it cannot back with evidence. Words like “natural” or “pure” on a jar still need reasonable grounds behind them.
This section is a pointer, not advice. MPI recommends a food labelling consultant for product-specific help, worth taking before a first print run, not after.
Browse more guides for NZ producers and makers in our Business & Industry section.
Frequently asked questions
Are clear labels waterproof?
The films are plastics, so water does not soak in as it does with paper. Hally describes its synthetic film family as having excellent moisture and chemical resistance. The weak point is usually the adhesive, so chilled or wet use needs the right adhesive grade, specified when you order.
Do clear labels work on dark products?
Yes, with help. Colours printed straight onto clear film go dull over a dark fill, so the design needs white ink under the parts that must stay bright and readable.
What is the difference between clear BOPP and clear vinyl labels?
Both are clear synthetic films. BOPP is a polypropylene film and the common choice for food and drink packaging: clear, reasonably stiff and easy to dispense. Vinyl (PVC based) films lean towards durable, hard-wear jobs. For most jars and bottles, BOPP is the starting point.
Can I print clear labels at home or in the office?
You can print small numbers on suitable laser label sheets for samples and market tests. The limits are durability, adhesive choice and the lack of a true white ink layer on most desktop printers. Once the product sells steadily, a commercial digital run gives a better finish and a lower cost per label.
How many clear labels should I order first?
Order enough for your first real batch plus samples and spares, and no more until you have seen the labels living on the product in the fridge or the shop. A short digital run costs more per label but protects you from a storeroom of labels with unreadable text.
Do clear labels peel off in the fridge?
They should not, if the adhesive matches the job. Condensation is the enemy: tell the printer the product will be chilled, ask for a chilled-use adhesive, and apply labels to dry containers at room temperature before chilling where your process allows.
Are clear labels recyclable or compostable?
Standard clear films are not home compostable. Compostable clear films do exist: Hally lists a clear PLA film with a certified compostable adhesive, and a clear NatureFlex film. They only make sense matched to compostable packaging with a real composting pathway at the end.